Why Is Nothing Appearing in Resin 3D Printer? Troubleshooting Guide
Introduction
Have you ever hit the print button on your resin 3D printer, only to find nothing at all? Frustrating, right? You’re not alone in this struggle. Many users face this issue, and it can be quite disheartening when your efforts yield zero results. Understanding common problems can really enhance your 3D printing experience. This guide will walk you through troubleshooting steps to identify and fix these pesky issues.
Speaking of enhancing your 3D printing experience, have you considered upgrading your setup with an Anycubic Photon Mono X 3D Printer? This beauty offers larger prints and faster speeds, so you can spend less time waiting and more time creating! Now that’s a win-win!

Summary and Overview
Let’s take a moment to look at the reasons behind unsuccessful prints in resin 3D printing. The process is intricate, involving various factors such as exposure settings, resin quality, and printer maintenance. Each of these can significantly impact your print outcomes. Systematic troubleshooting is key to ensuring your prints come out as expected. In the following sections, we’ll cover specific issues and solutions to help you achieve success.
And if you’re serious about getting the most out of your resin, you might want to stock up on some high-quality resin like Siraya Tech Fast Resin. This resin is known for its quick curing time and excellent detail, making it a favorite among 3D printing enthusiasts.
Common Issues and Troubleshooting Steps
1. Exposure Settings
Exposure settings play a vital role in resin printing. If these aren’t just right, you might end up with empty prints.
Overexposure vs. Underexposure
Incorrect exposure times can lead to failed prints. Overexposed resin may cure too quickly, while underexposed resin won’t solidify. Adjust your exposure settings based on the resin type. Many manufacturers provide guidelines, so refer to those for optimal results.

2. Resin Quality
The quality of the resin you use can greatly affect your print outcomes.
Expired or Contaminated Resin
Expired resin can behave unpredictably, leading to curing failures. Always check the expiration date before use. Contaminated resin can also be problematic. To test resin quality, place a drop under daylight. If it doesn’t cure, consider replacing it. Keeping your resin clean and stored properly will ensure better prints.

3. Build Plate Leveling
A properly leveled build plate is crucial for successful resin printing. If the plate is uneven, the resin may not adhere correctly. This can lead to failed prints and wasted materials. Ensuring your build plate is level allows for optimal contact with the resin, which promotes better adhesion and print quality.
How to Level the Build Plate
1. Prepare Your Printer: Turn on your printer and ensure it’s ready.
2. Remove the VAT: Take out the resin vat to access the build plate.
3. Use a Piece of Paper: Place a standard sheet of paper between the build plate and the LCD screen.
4. Adjust the Height: Lower the build plate until it gently touches the paper. You should feel slight resistance.
5. Tighten the Build Plate: Secure the build plate in place tightly.
6. Reinstall the VAT: Once leveled, place the resin vat back into position.
Improper leveling can cause adhesion issues. If the plate is too high, the resin won’t stick. If it’s too low, it may lead to over-compression, affecting the print’s structure.
4. Build Plate Adhesion
Adhesion failures can be a common headache in resin printing. When prints don’t stick to the build plate, they can detach during the process. This often results in wasted time and resin. Common causes of adhesion issues include a dirty build plate, incorrect exposure settings, or even the type of resin used.
Improving Build Plate Adhesion
To enhance adhesion, start by cleaning the build plate with isopropyl alcohol (IPA). This eliminates any residue that might hinder bonding. Next, consider increasing the exposure time for the first few layers. This extra time helps the resin cure more effectively to the plate. You can also experiment with different build plate materials, like textured or rough surfaces, which can improve grip.

5. Hardware Issues
Hardware malfunctions can interrupt your printing process. If the printer isn’t functioning correctly, it can lead to empty prints. Common problems include issues with the UV light source or the LCD screen. Always check that the printer components are in good condition and functioning properly.
Testing the UV Light Source and LCD Screen
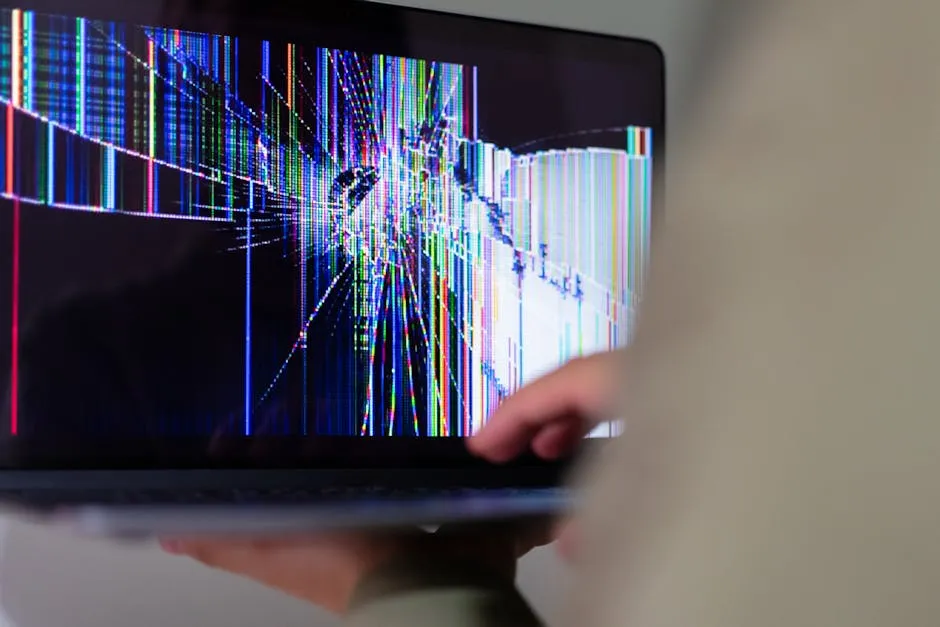
To test the UV light source, start a print without the resin vat. Observe if the light is illuminating correctly. If it’s not, there may be a problem with the light source or wiring. For the LCD screen, conduct an exposure test to ensure it displays properly. If the screen shows irregularities or dark spots, it may need replacement.
6. FEP Film Problems
The FEP film plays a vital role in the resin vat. It allows light to pass through while preventing cured resin from sticking. If the film is damaged or cloudy, it can hinder the printing process, leading to empty prints or layer failures.
Signs of FEP Film Damage
Look for signs of wear such as cloudiness, scratches, or holes in the FEP film. Any of these can affect the print quality. If you notice any damage, it’s essential to replace the film. Regularly checking the FEP film before printing can save you from unexpected failures and frustration. You can stock up on replacement FEP films here.

7. Resin Temperature
Did you know that temperature plays a major role in resin printing? It affects both viscosity and curing. If the resin is too cold, it becomes thick and won’t flow properly. Conversely, if it’s too warm, it can cure too quickly or become unstable. This can lead to failed prints.
Keeping your resin at the right temperature is crucial for optimal results. Aim for a consistent room temperature of around 20°C (68°F). This helps ensure the resin behaves as intended during the printing process.

Maintaining Optimal Resin Temperature
To store your resin effectively, keep it in a cool, dark place. Use an insulated container to maintain a stable temperature. If you live in a cooler area, consider using a fermentation belt to keep the resin warm. This simple step can greatly improve your print quality.

8. Environmental Factors
External factors, like humidity and air quality, can seriously impact your prints. High humidity can cause resin to absorb moisture, affecting its curing process. Poor air quality may introduce contaminants that interfere with the resin’s performance. Learn more about how environmental factors can affect performance.
Understanding how environmental factors can impact your work is essential for achieving optimal results. Read more about the impact of environmental factors on glossophobia in the workplace.
Creating an Ideal Printing Environment
Here are some tips to optimize your printing space:
1. Temperature Control: Keep your room temperature stable to avoid fluctuations.
2. Dehumidifier: Use a dehumidifier in humid conditions to maintain proper levels.
3. Clean Workspace: Ensure the workspace is free from dust and debris to prevent contamination.

9. Firmware and Slicer Settings
Firmware and slicer settings play a crucial role in successful printing. Incorrect settings can lead to failed prints or nothing appearing at all. Always ensure that your slicer is set to match your resin type and printer specifications.
Keeping Software Updated
Using the latest firmware is vital for optimal performance. Regularly check for updates from your printer manufacturer. Proper slicer settings are equally important. Follow the manufacturer’s guidelines for exposure times and layer thickness to improve print quality.
10. Regular Maintenance
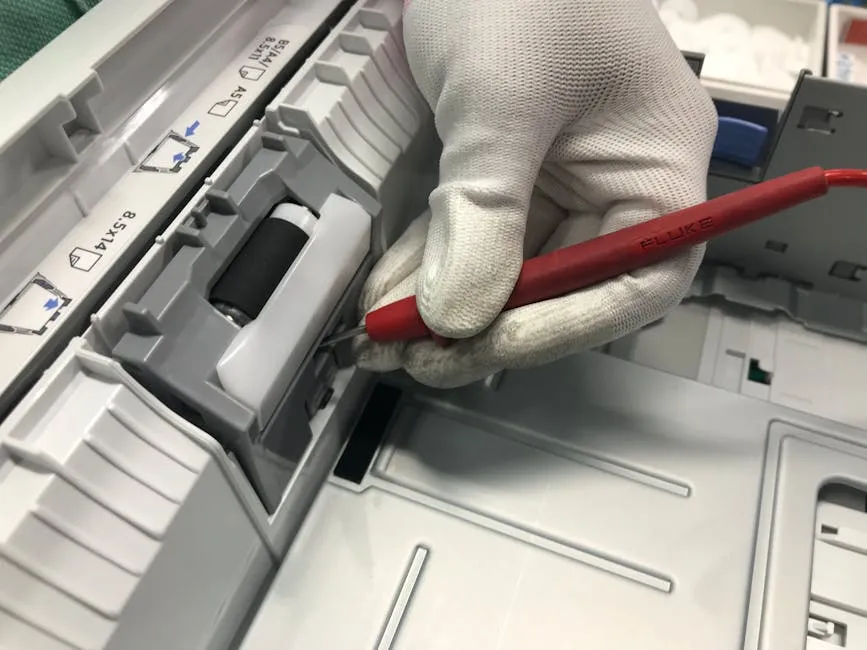
Regular maintenance of your resin 3D printer is essential. Neglecting this can lead to various printing issues, including failed prints. Keeping your printer clean and well-maintained ensures smooth operation and better results.
Cleaning and Maintenance Tips
To maintain your resin printer, consider this checklist:
1. Clean the Build Plate: Use isopropyl alcohol after every print to remove residue.
2. Inspect the FEP Film: Check for wear or cloudiness before each print.
3. Check UV Light Source: Ensure the light source is functioning correctly to avoid exposure issues.
By following these steps, you can enhance the longevity of your printer and improve your overall printing experience. And for those who like to keep their tools organized, a Tool Holder Organizer can be a lifesaver!
FAQs
Why is my resin not curing at all?
Several factors may cause this issue. First, check your exposure settings. If they’re too low or too high, the resin may not cure properly. Additionally, using expired or contaminated resin can prevent curing. Always ensure your resin is fresh and well-mixed.
How often should I level my build plate?
It’s a good practice to level your build plate every 5 to 10 prints. If you notice sticking issues or after moving the printer, recheck its level. Consistent leveling ensures better adhesion.
Can I use expired resin?
Using expired resin is risky. It may not cure correctly, leading to failed prints. Always check the expiration date and avoid using resin that has been sitting too long.
What should I do if my prints keep failing?
Start by reviewing your exposure settings, ensuring they match your resin specifications. Next, check the build plate’s cleanliness and leveling. If issues persist, consider inspecting the FEP film and your printer’s hardware for any malfunctions.
How can I tell if my printer’s LCD screen is malfunctioning?
Is your printer running but nothing appears on the build plate? The LCD screen might be the culprit. Here are some signs of a malfunctioning screen: 1. Check the Display: If the screen shows dark spots, lines, or flickers, it may need replacement. A healthy LCD displays a clear image throughout the printing process. 2. Conduct an Exposure Test: Start a print without resin in the vat. Observe if the screen illuminates properly. If the pattern is faint or missing, the screen may be faulty. 3. Inspect for Physical Damage: Look for cracks or damage on the LCD. Physical issues can prevent it from functioning correctly. If you notice any of these issues, consider contacting your printer’s manufacturer for support or a replacement.
What are the best practices for resin storage?
Proper resin storage is vital for maintaining quality and ensuring successful prints. Here are some key tips for optimal resin storage: 1. Keep It Cool and Dark: Store resin in a cool, dark place. Ideal temperatures are around 20°C (68°F). Excess heat can cause premature curing or degrade resin quality. 2. Seal It Tight: Always close the resin bottle tightly after use. This prevents contamination and exposure to air, which can lead to curing issues. 3. Regularly Check Expiration Dates: Ensure you use resin before its expiration date. Expired resin can behave unpredictably, affecting print outcomes. 4. Filter Before Use: If you suspect contamination, filter the resin before using it. This removes debris and ensures smoother printing. Following these tips will help you maintain resin quality for your prints.
Is it normal for my printer to make a popping sound during printing?
You might hear popping sounds during the printing process. But are they normal? Here’s what you need to know: 1. Normal Sounds: Some popping sounds can be perfectly normal. They often indicate the FEP film releasing from the model as it lifts. This is part of the printing process. 2. When to Be Concerned: If the sounds are loud or accompanied by unusual vibrations, it could signal issues. Check for any obstructions or mechanical problems in the printer. 3. Monitor Your Prints: Keep an eye on your prints. If they detach from the build plate consistently, it may be time to troubleshoot adhesion issues. Understanding these sounds can help you identify when to act and when to relax during the printing process.
Please let us know what you think about our content by leaving a comment down below!
Thank you for reading till here 🙂 And if you’re looking for a handy 3D Printer Maintenance Kit, we’ve got you covered!
All images from Pexels


