![]()
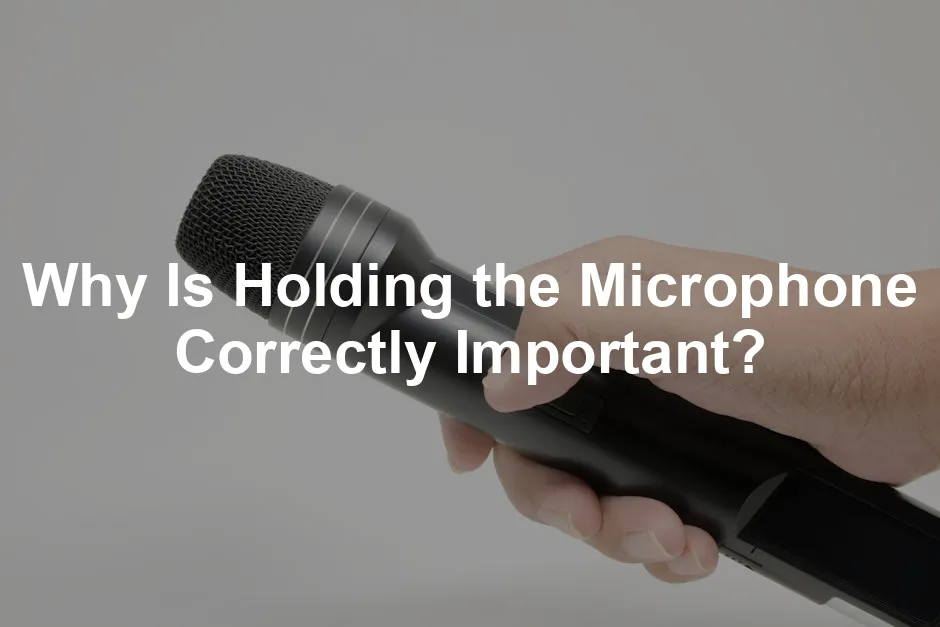
Why Is Holding the Microphone Correctly Important?
Introduction
Holding the microphone properly is essential for effective communication. It directly affects sound quality, audience engagement, and overall performance. When you manage the microphone well, your message becomes clearer, and your audience stays attentive. In this section, we’ll discuss key techniques and best practices for microphone handling.
And speaking of sound quality, if you’re looking for a reliable microphone to bring your voice to life, check out the Shure SM58-LC Handheld Vocal Microphone. It’s the microphone that legends trust!
Summary and Overview
Proper microphone handling is vital for several reasons. First, it ensures optimal sound quality, allowing your voice to be heard without distortion. Second, it helps maintain audience engagement; when sound is clear, listeners are more likely to stay focused. Improper use can lead to sound distortion, feedback, and disengagement from the audience.
We’ll cover various aspects, including techniques for different microphone types, best practices for holding handheld mics, and the consequences of poor handling. By understanding these elements, you can enhance your performance and communication skills.
If you’re thinking about recording your voice or music, consider the Audio-Technica AT2020 Cardioid Condenser Microphone. It’s perfect for capturing studio-quality sound without breaking the bank!
Importance of Proper Microphone Technique
What Is Proper Microphone Technique?
Proper microphone technique refers to how you hold and position the microphone. This technique is crucial in various contexts, such as live performances, presentations, and recordings. Each setting may require different approaches, depending on the microphone type used. For instance, handheld microphones often need a steady grip, while lavalier mics require careful placement.
Good technique is key to achieving clear sound. It involves maintaining the right distance from your mouth, angling the mic correctly, and avoiding unnecessary movement. Understanding these principles will help you communicate more effectively, ensuring your voice is captured accurately. Ultimately, mastering proper microphone technique will elevate your performances and presentations, making your message resonate with your audience.
Effective communication is essential for ensuring your message is clearly understood. why does effective communication matter in overcoming glossophobia
Consequences of Poor Technique
Holding a microphone incorrectly can lead to a range of problems. First and foremost, poor sound quality is a significant issue. If the microphone is too far from your mouth, your voice may sound weak or muffled. Conversely, if it’s too close, it can produce harsh sounds and distortions.
Feedback is another common problem. When a microphone picks up sound from speakers, it creates an echo, which can be jarring for the audience. This distraction pulls attention away from your message. A survey found that 70% of audience members disengage when they struggle to hear the speaker clearly. Clear sound is crucial for maintaining audience focus.
To avoid these pitfalls, consider using a Sennheiser EW 112P G4 Wireless Microphone System. With this system, you can move freely while maintaining top-notch sound quality!
Lastly, improper microphone handling can divert the audience’s attention. When they see a speaker struggling with their mic, it creates a perception of unprofessionalism. This can diminish the speaker’s credibility and message impact.
Best Practices for Holding a Handheld Microphone
Ideal Grip and Positioning
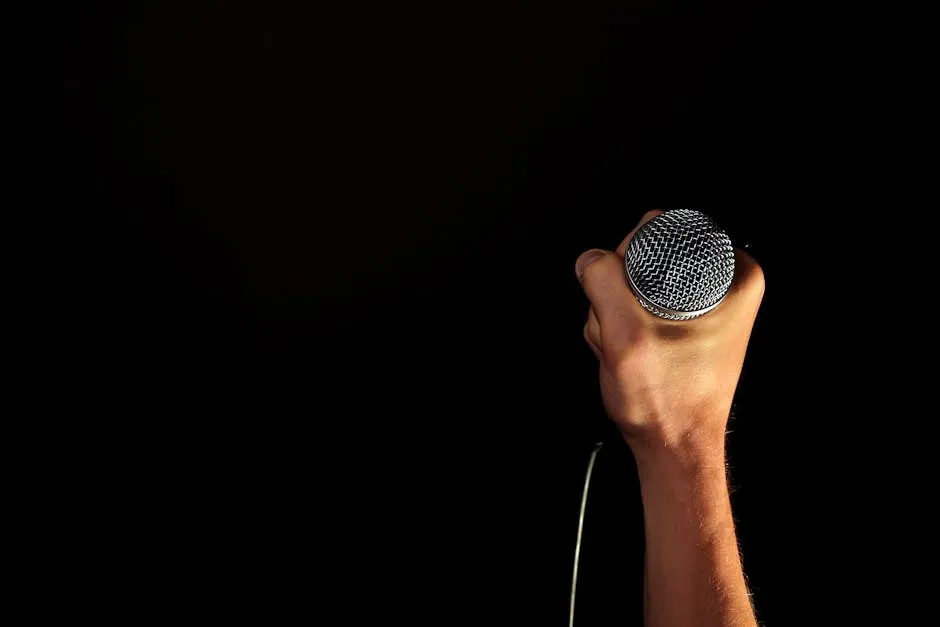
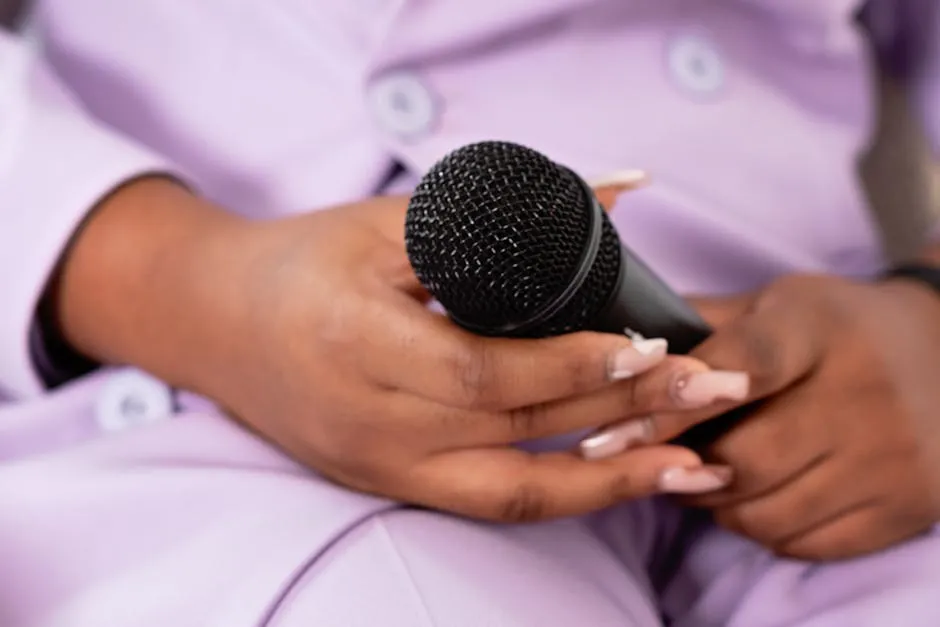
To hold a handheld microphone effectively, begin by gripping it securely by the handle. Your fingers should wrap around the handle while keeping your thumb on the opposite side for support. Aim to hold the mic about 6 to 8 inches away from your mouth. This distance allows for clear sound without distortion.
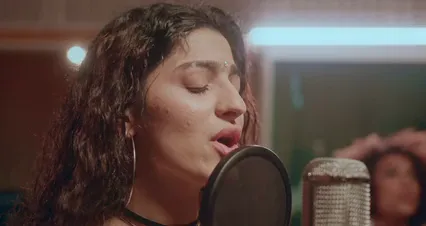
Angle the microphone slightly upward toward your mouth. This positioning not only enhances sound quality but also keeps the mic from blocking your face. Clear visibility is essential for audience engagement, so ensure your expressions are easily seen.
If you’re a podcaster or planning to start, a great option is the USB Microphone for Podcasting. It’s designed to capture crisp audio and make your voice shine!
Avoiding Cupping Techniques
Cupping the microphone can significantly distort sound quality. This technique involves wrapping your hand around the mic head, which can muffle your voice and create unwanted resonances. For instance, when singers cup the mic, it may produce a unique sound effect, but it often results in muddiness during speech.
However, there are exceptions. Beatboxers often use cupping intentionally to create specific sounds. For most situations, though, maintaining a proper grip is best. Avoid cupping unless you’re aiming for that particular effect, as it risks sound clarity and audience experience.
Advanced Techniques for Different Scenarios
Adjusting for Performance
Microphone placement is vital for vocal performance. When you hit powerful notes, the mic should be slightly further away. This distance prevents distortion and allows your voice to shine without overwhelming the audience. For softer sounds, bring the microphone closer. This captures subtle nuances and ensures every whisper is heard clearly.
Using the right distance also helps control sound dynamics. A good rule of thumb is to maintain a distance of about 6 to 12 inches from your mouth. Keep this distance consistent, especially when transitioning between loud and soft passages. Experimenting with mic distance during rehearsals will help you find the perfect balance.
Techniques from Professional Vocalists
Learning from the greats can elevate your microphone skills. Renowned performers like Frank Sinatra and Ella Fitzgerald mastered mic techniques that enhanced their sound. Sinatra often positioned the mic at a slight angle, allowing his voice to resonate beautifully without distortion. He maintained a consistent distance, ensuring clarity and warmth in his delivery.
Ella Fitzgerald, known for her powerful voice, adjusted her mic placement based on the song’s dynamics. She would pull the microphone back for dramatic high notes and bring it closer during softer passages. Observing these techniques can teach you how to adapt your style for different performances.
Watching live performances can provide insights into mic handling. Notice how artists use their body language while positioning the microphone. A confident grip and purposeful movements can make a significant difference. Practice these techniques to develop your unique style and improve your overall performance.

Adaptations for Different Microphone Types
Using different types of microphones requires unique techniques. Holding a handheld microphone is distinct from using lavalier or headset mics.
When using a handheld mic, you have more control over proximity and angle. It’s best to keep it about 6 to 8 inches from your mouth. This distance ensures clarity without distortion. You can also adjust the mic’s angle for optimal sound pickup.
Lavalier and headset mics, on the other hand, are designed to stay in place. With these types, you need to be aware of your movement. Ensure the mic is positioned close enough to pick up your voice clearly, usually around 6 to 12 inches from your mouth.
Proximity effect can vary significantly between mic types. For handheld mics, being too close can enhance bass, causing muddiness. Conversely, with lavalier mics, speaking slightly further away can help maintain balance in sound quality.
Managing these differences will enhance your audio quality. Each type of microphone has its own best practices, so be adaptable.
Common Mistakes to Avoid
Overly Close or Far
Holding the microphone at the wrong distance can lead to issues. If you hold it too close, your voice may sound distorted or booming. This happens because the mic captures excess volume, causing unwanted feedback.
On the flip side, if the mic is too far away, your voice can become weak and hard to hear. This distance might lead to a lack of clarity, making it difficult for your audience to engage.
For handheld mics, aim for a distance of about 6 to 8 inches. This distance allows for loud and clear audio without distortion. For lavalier mics, ensure they’re attached securely and positioned around 6 to 12 inches from your mouth.

Blocking the Face
Visibility is crucial during presentations. If your microphone blocks your face, it can hinder audience engagement. Non-verbal cues, like facial expressions, play a vital role in communication.
To avoid this, hold the mic at a slight angle. This positioning keeps it out of the way while ensuring your face remains visible. For lavalier mics, positioning them under your chin can help maintain visibility while capturing clear audio.
Practice positioning your microphone during rehearsals. This will help you find the right balance between sound and visibility. Keeping your audience engaged is key, and ensuring they can see your expressions contributes to that engagement.

Neglecting Sound Checks
Before stepping onto the stage, sound checks are a must. They ensure everything works perfectly. Testing your microphone can save you from potential pitfalls. Imagine starting your presentation only to realize your mic isn’t functioning. It’s a nightmare scenario!
Here’s a quick checklist for effective sound checks:
And while you’re at it, you might want to consider investing in a Pop Filter for Microphones. It helps eliminate unwanted plosive sounds and ensures your recordings sound professional!
- Test the microphone: Speak into it and listen for clarity.
- Check the volume levels: Ensure your voice is loud enough.
- Adjust the distance: Experiment with how far you hold the mic.
- Listen for feedback: Move the mic around to avoid echoes.
- Assess background noise: Make sure external sounds don’t interfere.
- Confirm battery life: If applicable, ensure your mic is charged.
By following this checklist, you’re setting yourself up for success. A sound check is your safety net, ensuring your performance is as smooth as possible.

FAQs
Why is it important to hold the microphone correctly?
Holding the microphone correctly affects sound quality. When you grip it right, your voice projects clearly. This clarity keeps the audience engaged. If you hold it poorly, sound can distort, leading to disengagement.
What is the best distance to hold a microphone?
The ideal distance varies by context. For handheld mics, aim for 6 to 8 inches from your mouth. This distance ensures clarity without distortion. For lavalier mics, keep them around 6 to 12 inches away. Adjust based on your needs and the type of microphone.
What are common mistakes people make with microphones?
Common pitfalls include cupping the mic and holding it too far or too close. Cupping can muffle sound and cause feedback. Not maintaining consistent distance can lead to unclear audio, making it hard for the audience to follow.
How can I avoid feedback while using a microphone?
To minimize feedback, position the mic away from speakers. Keep it at a proper distance to reduce the chance of echoes. Also, use directional mics effectively, pointing them toward your voice while minimizing background noise.
Do different microphones require different handling techniques?
Yes, each microphone type has specific handling techniques. Handheld mics require a steady grip and consistent distance. Lavalier mics need careful placement to ensure clarity. Understanding these nuances will help you adapt your approach as needed.
Please let us know what you think about our content by leaving a comment down below!
Thank you for reading till here 🙂 And if you’re ready to take your presentations up a notch, consider the Portable Microphone Case to protect your valuable equipment!
All images from Pexels