![]()
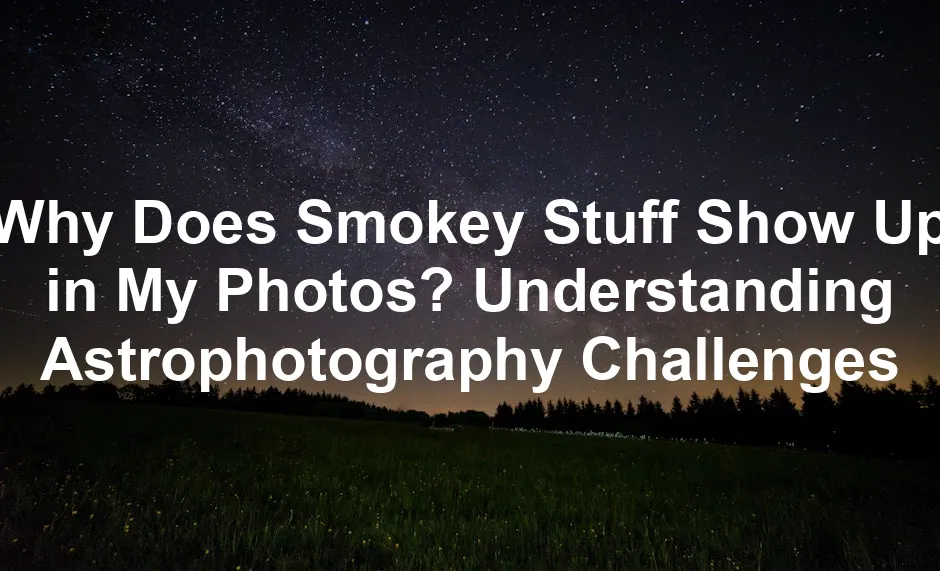
Why Does Smokey Stuff Show Up in My Photos? Understanding Astrophotography Challenges
Introduction
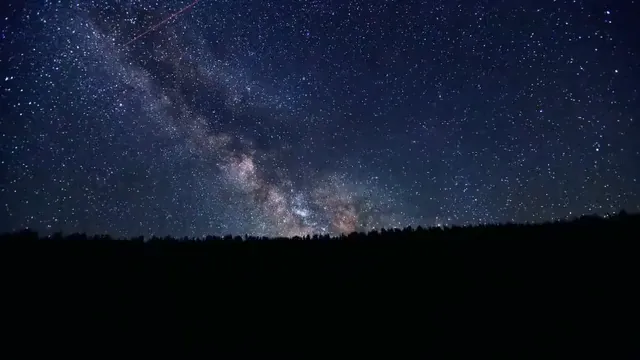
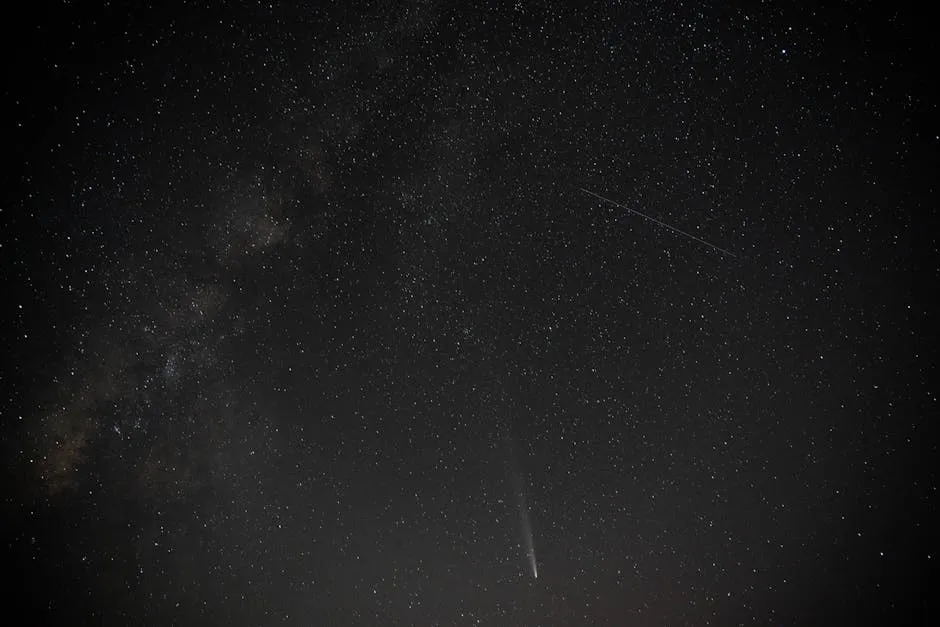
Astrophotography is like capturing the universe’s dazzling performance on a grand stage. Imagine freezing a meteor shower or the mesmerizing dance of the Milky Way! It’s all about those stunning celestial events that make your heart skip a beat. But, like any great recipe, getting the perfect shot requires the right ingredients.
Enter the infamous “smokey stuff.” If your astrophotography photos look more hazy than heavenly, you’re not alone. Many enthusiasts find that their images resemble a watercolor painting rather than a crisp, starry night. What gives?
Think of astrophotography as cooking. You need the right conditions, just like you need the right spices for a delicious dish. Too much humidity or smoke? You might end up with a blurry mess instead of a masterpiece.
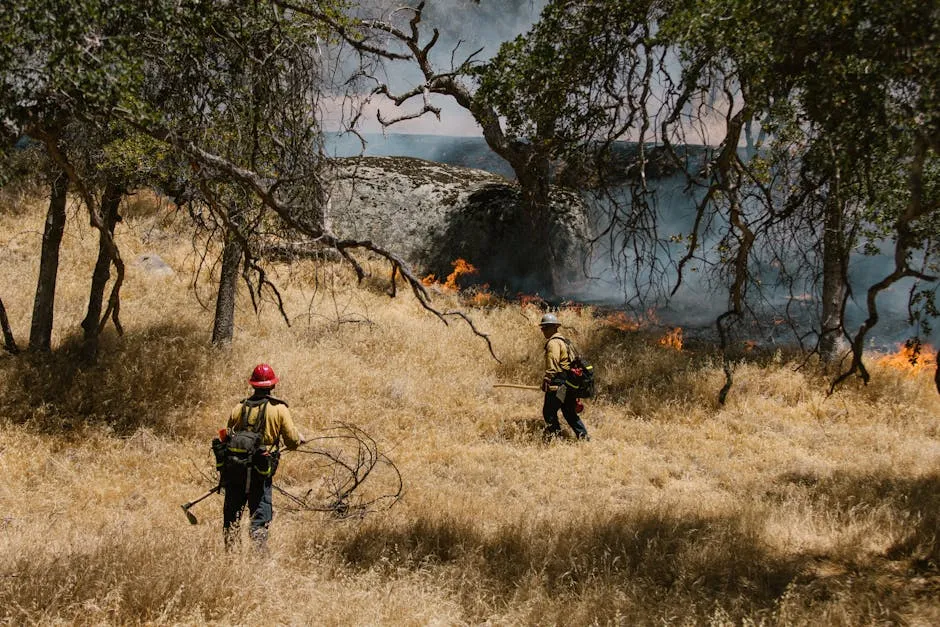
In recent years, concerns about wildfires have ramped up. Smoke from these fires can sweep across vast areas, impacting the clarity of the night sky. This is especially true for those of us keen on capturing the wonders above. So, let’s dig into why this haze happens and how you can tackle it head-on!

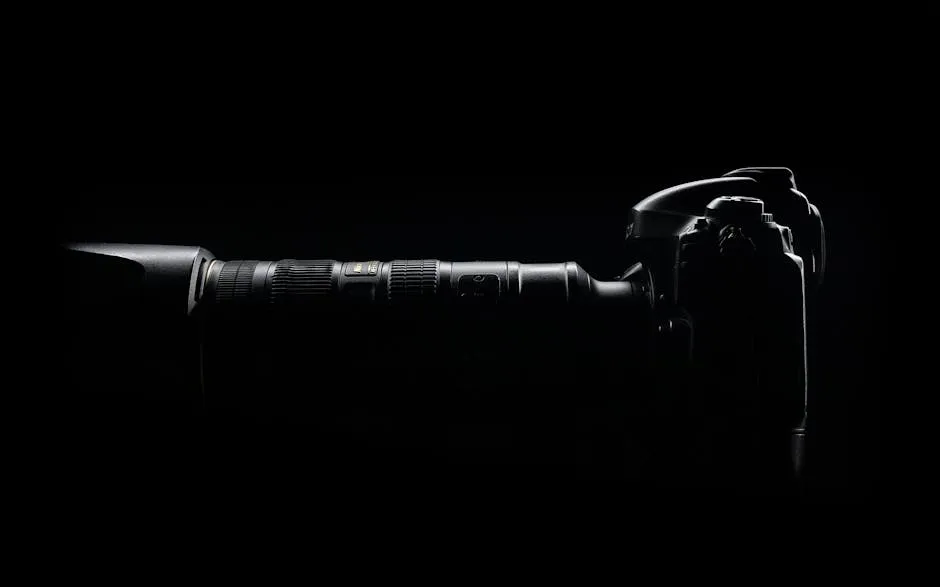
To capture those stunning celestial wonders, consider investing in a Canon EOS R Full-Frame Mirrorless Camera. Its low-light capabilities will have you capturing the night sky like a pro, even in less-than-ideal conditions.
Understanding Haze in Astrophotography
What Causes Haze in Astrophotography?
Haze in astrophotography refers to the reduction in clarity and detail in images, often giving them a washed-out look. This haziness can transform a stunning celestial event into a blurry blob. The main culprits? Atmospheric conditions like humidity, air pollution, and, of course, smoke from wildfires.
Humidity can create a thick layer of moisture in the air, scattering light and softening the details of distant stars. Air pollution adds another layer of complexity. Particulate matter and other pollutants can also contribute to this haze, creating a foggy effect that distorts your images.
Wildfire smoke, however, is the real game changer. When wildfires rage, they release fine particulate matter into the atmosphere. This smoke can travel vast distances, turning pristine nights into murky skies. As astrophotographers, we must contend with these environmental variables, adapting our techniques to capture the beauty of the cosmos despite the challenges.
Understanding the causes of haze is crucial for every astrophotographer. It empowers you to make informed decisions, enhancing the clarity of your images and ensuring your hard work shines through. Keep your eyes on the skies and your camera ready—there’s magic to be captured, even amidst the smoke!
For those serious about capturing the night sky, consider the Nikon D850 Full-Frame DSLR Camera. It delivers exceptional detail and performance in low-light conditions, making it a fantastic choice for astrophotography.
Role of Environmental Factors
Environmental factors can turn a starry night into a hazy mess. Let’s break down how these elements influence your astrophotography results.
Light pollution is a biggie. Urban areas are often bathed in artificial light. This light can drown out the faint glimmer of distant stars. Imagine trying to spot a firefly in a disco club—nearly impossible! Astrophotographers frequently complain about this issue. Many find that their stunning shots are muddied, losing the twinkle of stars. A common scenario involves photographers who wait for the perfect night. Yet, they step outside only to be greeted by a glowing skyline. Cue the disappointment!
Next up, we have moon phases. Ah, the moon, that beautiful celestial body! It can be a double-edged sword for photographers. During a full moon, its brightness often washes out the night sky. The result? Stars and celestial bodies fade into oblivion. Many astrophotographers plan their sessions around the lunar calendar, avoiding full moon nights like they’re a bad first date.
Additionally, atmospheric particles play a crucial role. These tiny bits of dust, moisture, and smoke can scatter light. When conditions are just right (or wrong), they create a hazy effect that can ruin even the most meticulously planned shot. For example, a photographer in rural Alabama shared their experience of capturing a starry night. Despite being far from city lights, the images still appeared hazy. The culprit? Atmospheric particles lingering in the air.
Real-life examples abound. Photographers have shared stories of setting up their gear, only to find the sky transformed by unexpected weather changes. A little humidity or a gusty wind can throw a wrench into your plans. And when wildfire smoke rolls in, it can completely obscure the stars.

Understanding these environmental factors is vital for every astrophotographer. By being aware of them, you can adjust your techniques and expectations. So, the next time you find that your photos resemble a smoky watercolor painting, remember: you’re not alone! Many have faced the same challenges, and with a little awareness, you can adapt and still capture the beauty above.
When tackling haze, don’t forget the importance of filters. A Tiffen 77mm Circular Polarizer Filter can help reduce glare and enhance contrast, making your images clearer and more vibrant!
Equipment Considerations
Choosing the right equipment is crucial in astrophotography, especially when facing haze. Think of your camera as a superhero, ready to battle the smoke and humidity! Start with a sturdy camera body. A full-frame camera often handles low-light situations better. Pair it with a fast lens—one with a wide aperture, preferably f/2.8 or lower. This combination helps gather more light, improving your chances of capturing those twinkling stars despite the haze.
Filters can be your best friends. A polarizing filter can reduce glare and enhance contrast. This is especially helpful when shooting near the horizon, where haze tends to be thicker. Consider using a UV filter too. It can help protect your lens while potentially cutting through some of that smoky air. The Hoya 77mm UV Filter is a great choice for this purpose!
Adjusting camera settings is equally important. Increase your ISO setting! A higher ISO allows you to capture more light, but beware of noise; it can sneak in and ruin your image. Experiment with longer exposure times, but don’t forget to use a sturdy tripod. A stable base is essential to avoid blurriness, especially when shooting in less-than-ideal conditions.
Lastly, don’t forget to check your lens for dust or moisture. A clean lens is key; even the smallest smudge can add to the haze in your photos. With the right equipment and settings, you’ll be more equipped to tackle smoky conditions.
Speaking of equipment, a reliable tripod is essential for those long exposure shots. The Manfrotto MT190XPRO4 Aluminum Tripod offers stability and versatility, ensuring your camera stays steady while you capture the stars.
Techniques for Enhancing Image Quality
Post-processing can be a game-changer for hazy astrophotography images. Start by using software like Adobe Lightroom or Photoshop. These programs offer various tools to enhance clarity and reduce haze. Play around with the clarity slider; it can significantly improve details in your night sky images.

Stacking images is another excellent technique. Capture multiple exposures of the same scene. Software like DeepSkyStacker Software can help combine these images, reducing noise and enhancing detail. This method allows you to build a more robust final image, even when haze is present.
Noise reduction software is also a lifesaver. Tools like Topaz DeNoise AI can intelligently reduce noise while preserving essential details. Just be cautious—overdoing it can lead to a plastic-like appearance, robbing your image of its natural beauty.
Don’t overlook color correction, either. Haze can wash out colors, making them appear muted. Adjust the vibrancy and saturation settings to bring back the life in your images. With these post-processing techniques, you can turn those hazy shots into striking celestial masterpieces.
Real-life Examples and Case Studies
Many astrophotographers have successfully captured stunning images, even in smoky conditions. One photographer shared their experience of shooting during wildfire season. They adjusted their expectations, opting to focus on capturing the Milky Way, knowing the haze would obscure distant stars. By embracing the challenge, they created a unique image with a soft, dreamlike quality.
Another astrophotographer recounted a night when smoke filled the sky. Instead of giving up, they utilized a polarizing filter and increased their ISO. The result? A dramatic shot of the night sky, where the haze added an ethereal quality to their photos.
These stories emphasize adaptability. Astrophotography often involves trial and error. Learning from experiences, whether good or bad, is vital. Embrace the smoky skies—sometimes, they can lead to unexpected and beautiful outcomes!
Adaptation Techniques
Astrophotographers, when faced with hazy skies, must be resourceful. Adapting your techniques can significantly improve your results. First, consider adjusting your expectations. On smoky nights, aim for celestial events that shine through the haze, like planetary alignments or bright constellations. These stars stand out better against a murky backdrop.
Another key technique involves working with different exposure settings. Lowering the exposure time can help reduce the impact of haze on your images. Shorter exposures capture less atmospheric interference, allowing for clearer results. Don’t shy away from increasing your ISO, too. Yes, it may introduce some noise, but it can also help gather more light, cutting through the haze.

If conditions are particularly poor, why not focus on terrestrial photography? Capture landscapes under starry skies! Silhouettes of trees or mountains can give your images depth. Plus, they make great foreground elements. The juxtaposition of smoky skies and a beautiful foreground can create unique compositions.
For nights when the stars are shy, try your hand at lunar photography. The moon is a bright target that can sometimes pierce through the fog. You can capture stunning details of its craters and maria. And let’s not forget meteor showers! They can still be visible even in less-than-ideal conditions.
Lastly, always keep an eye on the weather apps. Utilizing tools like Astronomy Magazine Subscription can help you predict not just smoke, but also other environmental factors. Adaptation is key. Embrace the unpredictability of astrophotography, and remember that even a hazy night can lead to unexpected gems.
Conclusion
Astrophotography is a delicate dance with nature. Understanding the environmental factors that lead to haze in your photos is crucial. We’ve explored how humidity, light pollution, and wildfire smoke can cloud your stunning celestial captures. Yet, with the right knowledge and techniques, you can still create beautiful images.
Preparation is essential. Always check weather conditions before you head out. Use apps to track smoke and air quality. Adapt your techniques based on what the sky throws at you. Maybe it’s a night to focus on the moon instead of distant galaxies. Or perhaps a landscape shot will be more rewarding.
Experimentation is part of the fun! Don’t be afraid to try different camera settings or subjects. Every astrophotographer faces challenges, and adapting is how we grow. Even smoky skies can yield surprising results. They can lend a unique mood to your images, turning a simple shot into a masterpiece.
And while you’re at it, don’t forget your gear! A Weatherproof Camera Bag can protect your valuable equipment from the elements, ensuring you’re always ready to capture the next great shot!
Understanding how environmental factors influence sleep disorders can provide insights into the challenges faced in astrophotography. Explore the connection between environmental factors and sleep disorders.
FAQs
What are the best camera settings for astrophotography during hazy nights?
When shooting in hazy conditions, you want to maximize light capture. Start with a higher ISO, around 1600 to 3200. Use a wide aperture, like f/2.8 or lower, to allow more light in. Keep exposure times short—try 10 to 20 seconds—to reduce the effects of haze. Don’t forget a sturdy tripod to keep your images sharp!
How can I tell if my photos are affected by haze?
Hazy images often appear washed out or lack sharpness. If stars look blurry or indistinct, haze might be the culprit. Review your photos closely; if they lack contrast and detail, you’re likely dealing with atmospheric interference.
Are there specific filters that can help reduce haze in astrophotography?
Yes! A polarizing filter can reduce glare and enhance contrast. This is especially helpful in hazy conditions. Additionally, a UV filter can serve as a protective layer for your lens while potentially cutting through some haze.
How does smoke from wildfires differ from other atmospheric conditions affecting astrophotography?
Smoke creates a unique challenge. It scatters light differently than humidity or pollution, often resulting in a color cast or a softer focus. Unlike other factors, smoke can blanket entire regions, drastically reducing visibility and altering the overall look of your photos. Understanding these differences can help you adjust your techniques accordingly.
Please let us know what you think about our content by leaving a comment down below!
Thank you for reading till here 🙂
All images from Pexels